


Why Physical Therapy is Crucial After a Total Shoulder Replacement
October Newsletter · Shoulder Recovery
Why Physical Therapy is Crucial After a Total Shoulder Replacement
Main Feature
Are you scheduled for a total shoulder replacement? While your surgeon has likely reviewed what you can expect from the procedure itself, you may have some questions about the rehabilitation afterward. Never fear: the Anders & Associates Physical Therapy physical therapists are here to guide you through the entire process with a little help from one of our former patients.
Meet The Patient (And the Surgery)
When Michael (not his real name) suffered a severe shoulder fracture, he knew he was going to need medical intervention to take care of it. He didn’t realize he was going to require a whole new shoulder!
Michael’s case was a little unusual because he was younger–in his mid-40s–and active. Most recipients of a total joint replacement, including shoulder replacement, opt for surgery to manage osteoarthritis pain. But these types of surgeries can also be performed when an injury is severe enough, as was the case with Michael, who fell on his shoulder during a particularly vigorous game of flag football.
No matter the reason for a total shoulder replacement, the basic procedure is the same: a surgeon replaces the shoulder joint’s ball and socket parts with prostheses. Because this is a major surgery, physical therapy is crucial in helping you rebuild your shoulder’s strength and function.
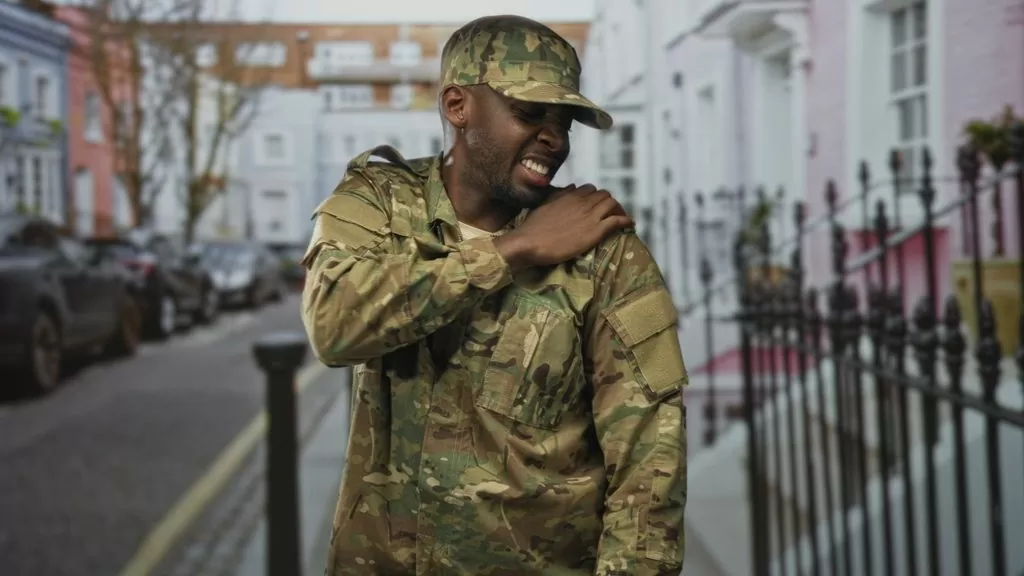
The Early Days of Recovery
Moving the joint facilitates healing and helps prevent the formation of scar tissue.
Michael’s surgery was successful, but his release from the hospital was just the beginning.
He began working on his physical therapy within the first days of release. At that point, his shoulder was still in a sling, so one thing his therapist helped him with was completing daily tasks, such as dressing and self-care.
However, it was also important for Michael to begin mobilizing his arm as soon as possible. Why? Because moving the joint facilitates healing and helps prevent the formation of scar tissue, which can lead to chronic pain and mobility issues down the line. We showed him simple exercises to jumpstart rehabilitation as the surgical site healed.
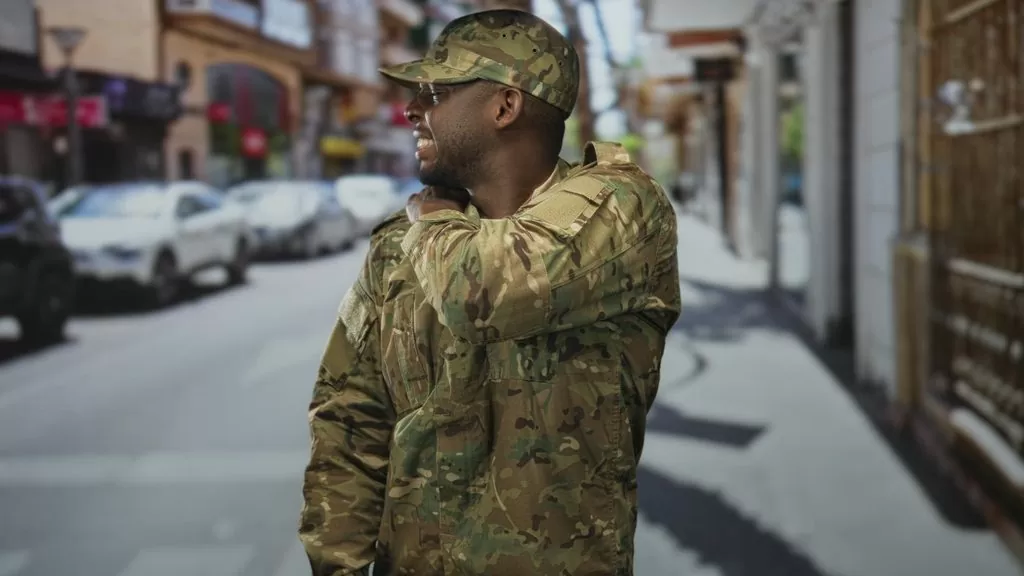
Restoring Mobility and Strength
After a few weeks, it was time for Michael to begin rehabilitating his shoulder in earnest. He no longer needed to use the sling by this point, but his shoulder was still very weak and stiff.
During his rehab session, we began with a round of manual therapy, using hands-on techniques to help reduce Michael’s pain, improve his restricted range of motion, and promote blood circulation to the area. This also helped prepare Michael’s shoulder for his prescribed exercises.
Initially, we focused on improving the mobility in Michael’s shoulder. We guided him through simple exercises that slowly restored his range of motion so that he could use his new shoulder just as well as his original.
As his mobility improved and pain decreased, we began incorporating strengthening exercises into Michael’s rehabilitation. The muscles surrounding his shoulder were weakened both from his injury and the surgery itself, and he needed to restore that strength to regain function.
We started slowly, gradually increasing the resistance in Michael’s exercises as he improved.
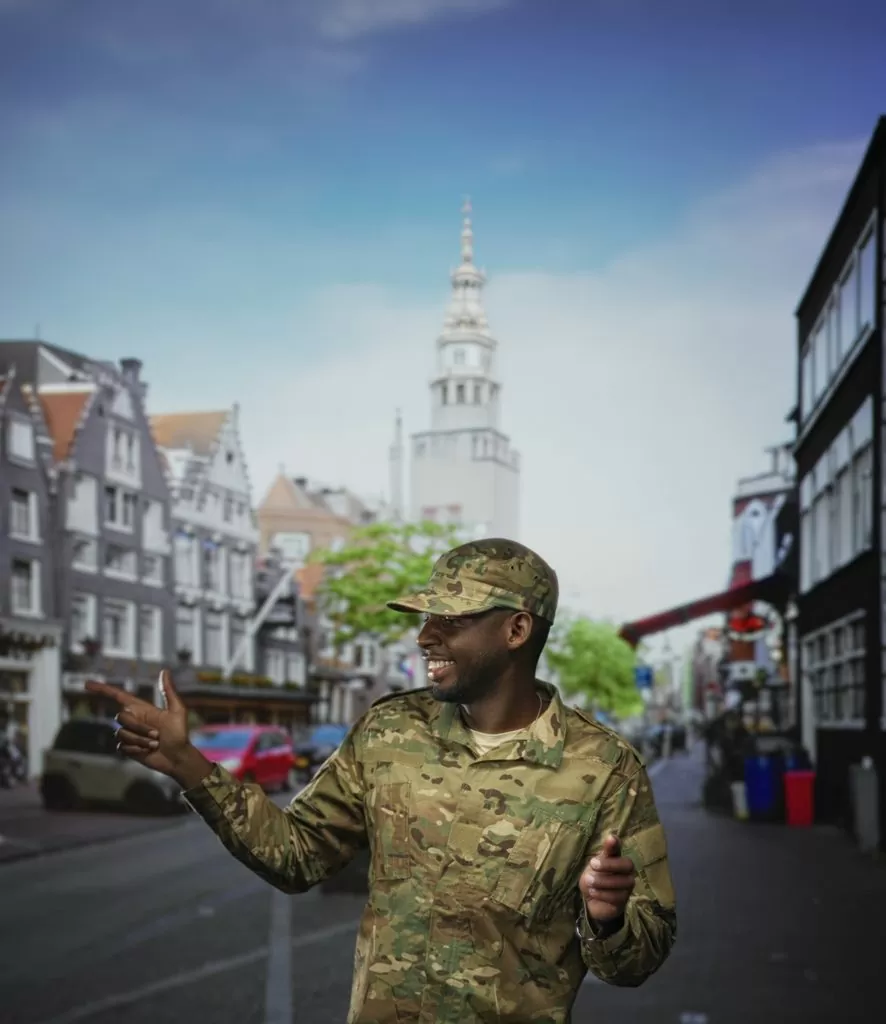
Finding Functionality
After several weeks, Michael was no longer dealing with persistent pain or restricted mobility. He was also well on his way to returning his shoulder’s strength to where it had been before his injury.
At that point, we began working on Michael’s functionality. As mentioned, Michael was an active individual, which meant he had some specific rehabilitation goals.
To help him achieve those goals, we retrained him on shoulder movements that were most important to him. We also helped him relearn shoulder movements that were significant in his day-to-day life, such as reaching overhead to grab something off a high shelf.
We also provided Michael with a detailed return-to-activity schedule, letting him know which shoulder movements he could safely perform and which would require modification as he continued through rehab.
7
Months of post-surgical rehabilitation
Another Successful Rehabilitation
Michael’s post-surgical rehabilitation took a total of seven months, which is actually on the shorter end for someone recovering from a total shoulder replacement. But because Michael dedicated himself to post-surgical physical therapy, he saw swift results.
Do you want to learn more about the critical role of physical therapy after a total shoulder replacement? Call Anders & Associates Physical Therapy today to schedule an appointment!
Recovery Roadmap
Understanding the Four Phases of Recovery
If you’re about to undergo a total shoulder replacement–or another orthopedic surgery–then it’s essential you understand the four phases of recovery. It takes time for your body to recover after surgery, and it doesn’t all happen at once.
The Anders & Associates Physical Therapy physical therapists are here to guide you through your recovery and rehabilitation, helping you to return to the activities you love as quickly as possible. Still, you don’t want to rush things. Your body is going through a complex process as you make your recovery:
The Acute Phase (One Week After) This phase focuses on healing at the surgical site. During this time, your efforts will go toward managing pain, reducing swelling, and starting gentle range of motion exercises.
The Mobility Phase (Two to Four Weeks After): Your body’s still healing from the surgery. However, you’re well enough to begin working on mobilization exercises to help prevent scar tissue formation (and potential movement restrictions).
The Strengthening Phase (Four To Seven Weeks After): At this point, the site has largely healed, and you begin really working on rehabilitation exercises focused on improving mobility, range of motion, and strength.
The Functionality Phase (Eight Weeks After): At this point, you’ll focus on restoring lost strength and function, ensuring you can return to your everyday life as good as new!
Exercise of the Month
STANDING EXTERNAL ROTATION
(Shoulders, Rotator Cuff)
Start by standing up straight with the arm to be exercised hanging by your side. Bend that elbow to 90 degrees. Anchor an exercise band at about the height of your belly button and hold the free end of the band in the hand of the arm you want to work. Make sure you are standing so that the hand holding the band is farther from the anchor than your other arm. Place a towel between your elbow and your body. Lightly rotate your working forearm away from your body pulling the band and keeping your arm bent. Slowly let the band pull your arm back.
(Materials needed: resistance band, towel)
Recipe of the Month
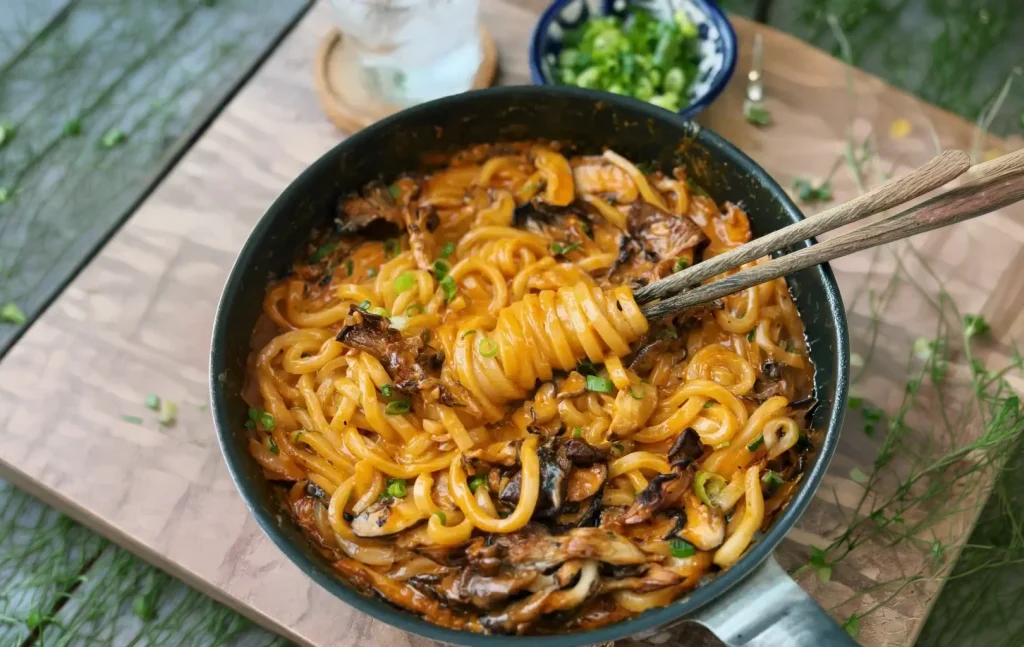
Spicy Creamy Mushroom Udon
For a spicy, satisfying meal, you have to try this Japanese-Korean fusion bowl! It features udon noodles tossed in a rich, creamy Gochujang Mushroom Sauce and is topped with the crispiest herb-butter-fried oyster mushrooms.
Ingredients
For the Crispy Oyster Mushrooms:
- 6 oz (170 g) oyster mushrooms, torn into bite-sized pieces
- 1 tbsp butter
- 1 tbsp oil
- 2-3 sprigs fresh thyme
- Salt and black pepper to taste
For the Creamy Spicy Mushroom Udon:
- 2 packs udon noodles (fresh or frozen, about 14–16 oz / 400–450 g total)
- 5-6 fresh shiitake mushrooms, thinly sliced
- 1 large shallot, finely chopped
- 4 cloves garlic, minced
- 1 ½ – 2 tbsp gochujang (Korean red chili paste), adjusting to your spice preference
- 1 cup heavy cream
- ¼ – ½ cup water or chicken/vegetable broth, as needed
- Salt and black pepper to taste
- Green onions, sliced (optional, for garnish)
Instructions
- Make the crispy mushrooms: Heat the butter and oil in a large pan over medium-high heat. Add the oyster mushrooms and thyme, season lightly with salt and black pepper, and pan-fry for 4–5 minutes. Stir occasionally until they are golden brown and crispy around the edges. Remove from the pan and set aside.
- Build the sauce: In the same pan, add the chopped shallot, minced garlic, and sliced shiitake mushrooms. Sauté over medium heat for 3–4 minutes, until the shallots soften and the mushrooms turn lightly golden.
- Make it creamy and spicy: Add the gochujang and stir for about 30 seconds to toast the paste. Pour in the heavy cream and ¼ cup of your water or broth. Mix until the gochujang is fully incorporated and the sauce is smooth.
- Add the udon: Place the udon noodles directly into the sauce. Turn the heat up to high and cook for 2–3 minutes, tossing constantly until the noodles separate and are completely coated in the creamy sauce. (Note: If the sauce becomes too thick, add another splash of water or broth.)
- Garnish and serve: Taste the sauce and adjust the salt and black pepper if needed. Divide the noodles between two bowls and top generously with the crispy oyster mushrooms and sliced green onions.
North Las Vegas · Sky Pointe
Ready to Rebuild Your Shoulder Strength?
Whether you’re preparing for surgery or already on the road to recovery, our team will build a plan around your goals.
North Las Vegas
2690 Deer Springs Way Suite 104
North Las Vegas, NV 89084
Sky Pointe
6620 Sky Pointe Drive Suite 130
Las Vegas, NV 89131
Share Your Experience
Had a Great Visit With Our Team?
Your review helps neighbors, service members and their families find the care they need.